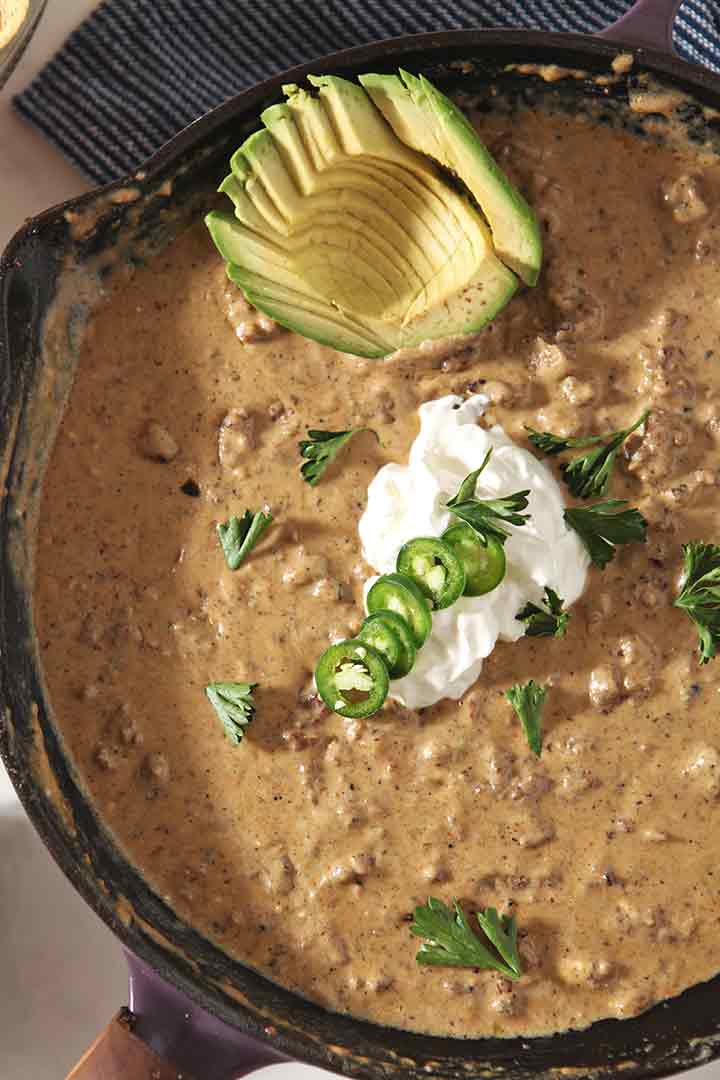
Loaded Queso is the perfect appetizer for any occasion. Studded with ground beef and garnished with avocado, sour cream and jalapeño rounds, this homemade queso blanco is a restaurant-quality dish that's easy to make at home. No shelf-stable cheese or canned milk necessary.
Prep the Ingredients
1 Using a sharp knife, dice the onion and jalapeño pepper. Transfer them in a bowl together, and set aside.
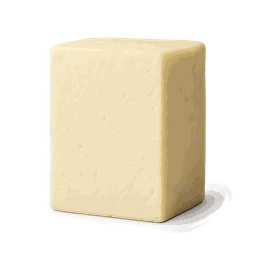
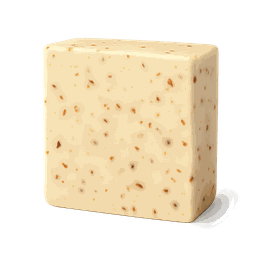
2 Shred the white cheddar cheese and the hot pepper jack cheese. Transfer them to a bowl, and set aside.
3 Measure out the milk into a liquid measuring cup, and set aside.
Brown the Meat
5 In a cast iron skillet over medium-high heat, pour in the oil.
6 When the oil is hot, add the diced onion and jalapeño pepper.
7 Using a wooden spoon, move the onion and jalapeño around the pan, cooking until they’ve softened and browned just slightly. (About 5-8 minutes, depending on how hot your stovetop runs.)
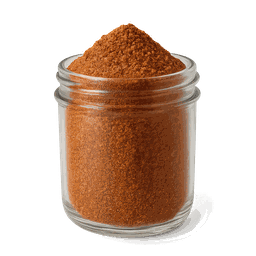
8 Add the ground beef. Season with 1 teaspoon of taco seasoning, as well as the salt and pepper.
9 Break the beef up with a wooden spoon, and let cook until browned.
10 Once the meat has been browned, transfer it from the skillet to a large bowl, and set aside.
Make the Queso
12 In the same skillet, turn down the heat to medium-low.
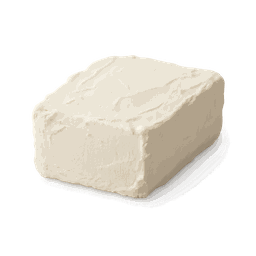
13 Add the milk and the cream cheese, giving both time to warm up and the cream cheese begins melting. (About 10-15 minutes, depending on your stovetop and how warm the ingredients were before adding to the skillet.)
14 Once the cream cheese is melting, add the other cheeses and the remaining ½ teaspoon of taco seasoning.
15 Stir until the cheeses have completely melted together.
16 Add the beef mixture back to the pan, stirring the ingredients all together, and let bubble for a few minutes.
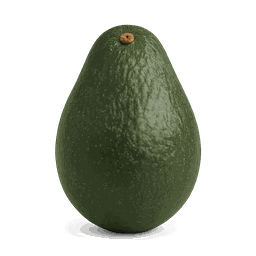
17 Remove from the heat and garnish with fresh avocado, sour cream, jalapeño slices and parsley or cilantro.
18 Serve immediately, and enjoy!