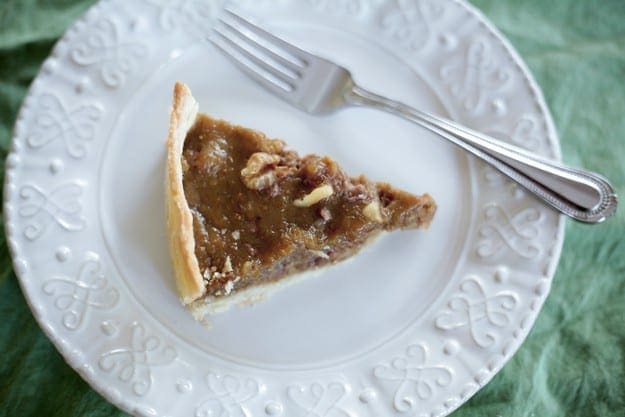
Fig Tart
Serves 835 mins prep45 mins cook
A sweet pie crust for any kind of tart or dessert that needs just a hint of sugar. This recipe makes three pie crusts.
0 servings
What you need

cup unbleached flour

cup granulated sugar

tsp salt

cup water

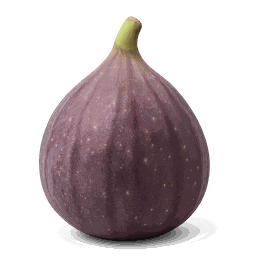
lb fresh figs

cup water

cup orange juice

cup dark brown sugar

tbsp salted butter

tsp vanilla extract

cup walnut
Instructions
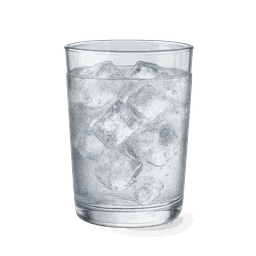
Make the Sweet Tart Crust 1 Fill a drinking glass of water. Place five ice cubes in it. Set aside. 2 Sift flour, sugar and sea salt together into a large bowl. Whisk together once everything has been sifted. 3 Measure out the shortening and drop it into the flour/sugar/salt mixture. 4 Use a pastry blender to break down the shortening into the flour/sugar/salt mixture. 5 Once the shortening has been broken into smaller pieces, pour in a tablespoon of the ice water. Use the pastry blender in a circular motion to continue mixing and combining the ingredients. 6 As your dough begins to come together, add more ice water. Add this slowly so you do not have a soup-y dough. 7 Once the dough is just combined, wrap it in plastic wrap and place in the freezer or refrigerator to chill for at least an hour before rolling out. Make the Fig Filling 1 Preheat oven to 350°F. 2 Chop the figs into quarters and set aside. 3 Break the three eggs into a bowl, whisk together and set aside. 4 Place figs into a saucepan with the orange juice, water and brown sugar. Bring to a boil and let simmer until the water/juice/sugar mixture is thick and syrupy and the figs are falling apart. 5 Use a food processor or blender to puree the fig and syrup mixture. 6 Transfer mixture back into pan. You can either continue to simmer this or add the last ingredients. 7 Mix in the eggs, tempering them before pouring all three into the hot mixture. 8 Add the walnuts, the vanilla extract and the butter. 9 Pour the batter into a tart pan that has been lined with the Sweet Tart Crust. 10 Bake for thirty minutes or until top is golden brown. 11 Once baked, let sit for five minutes to cool, and then enjoy!View original recipe