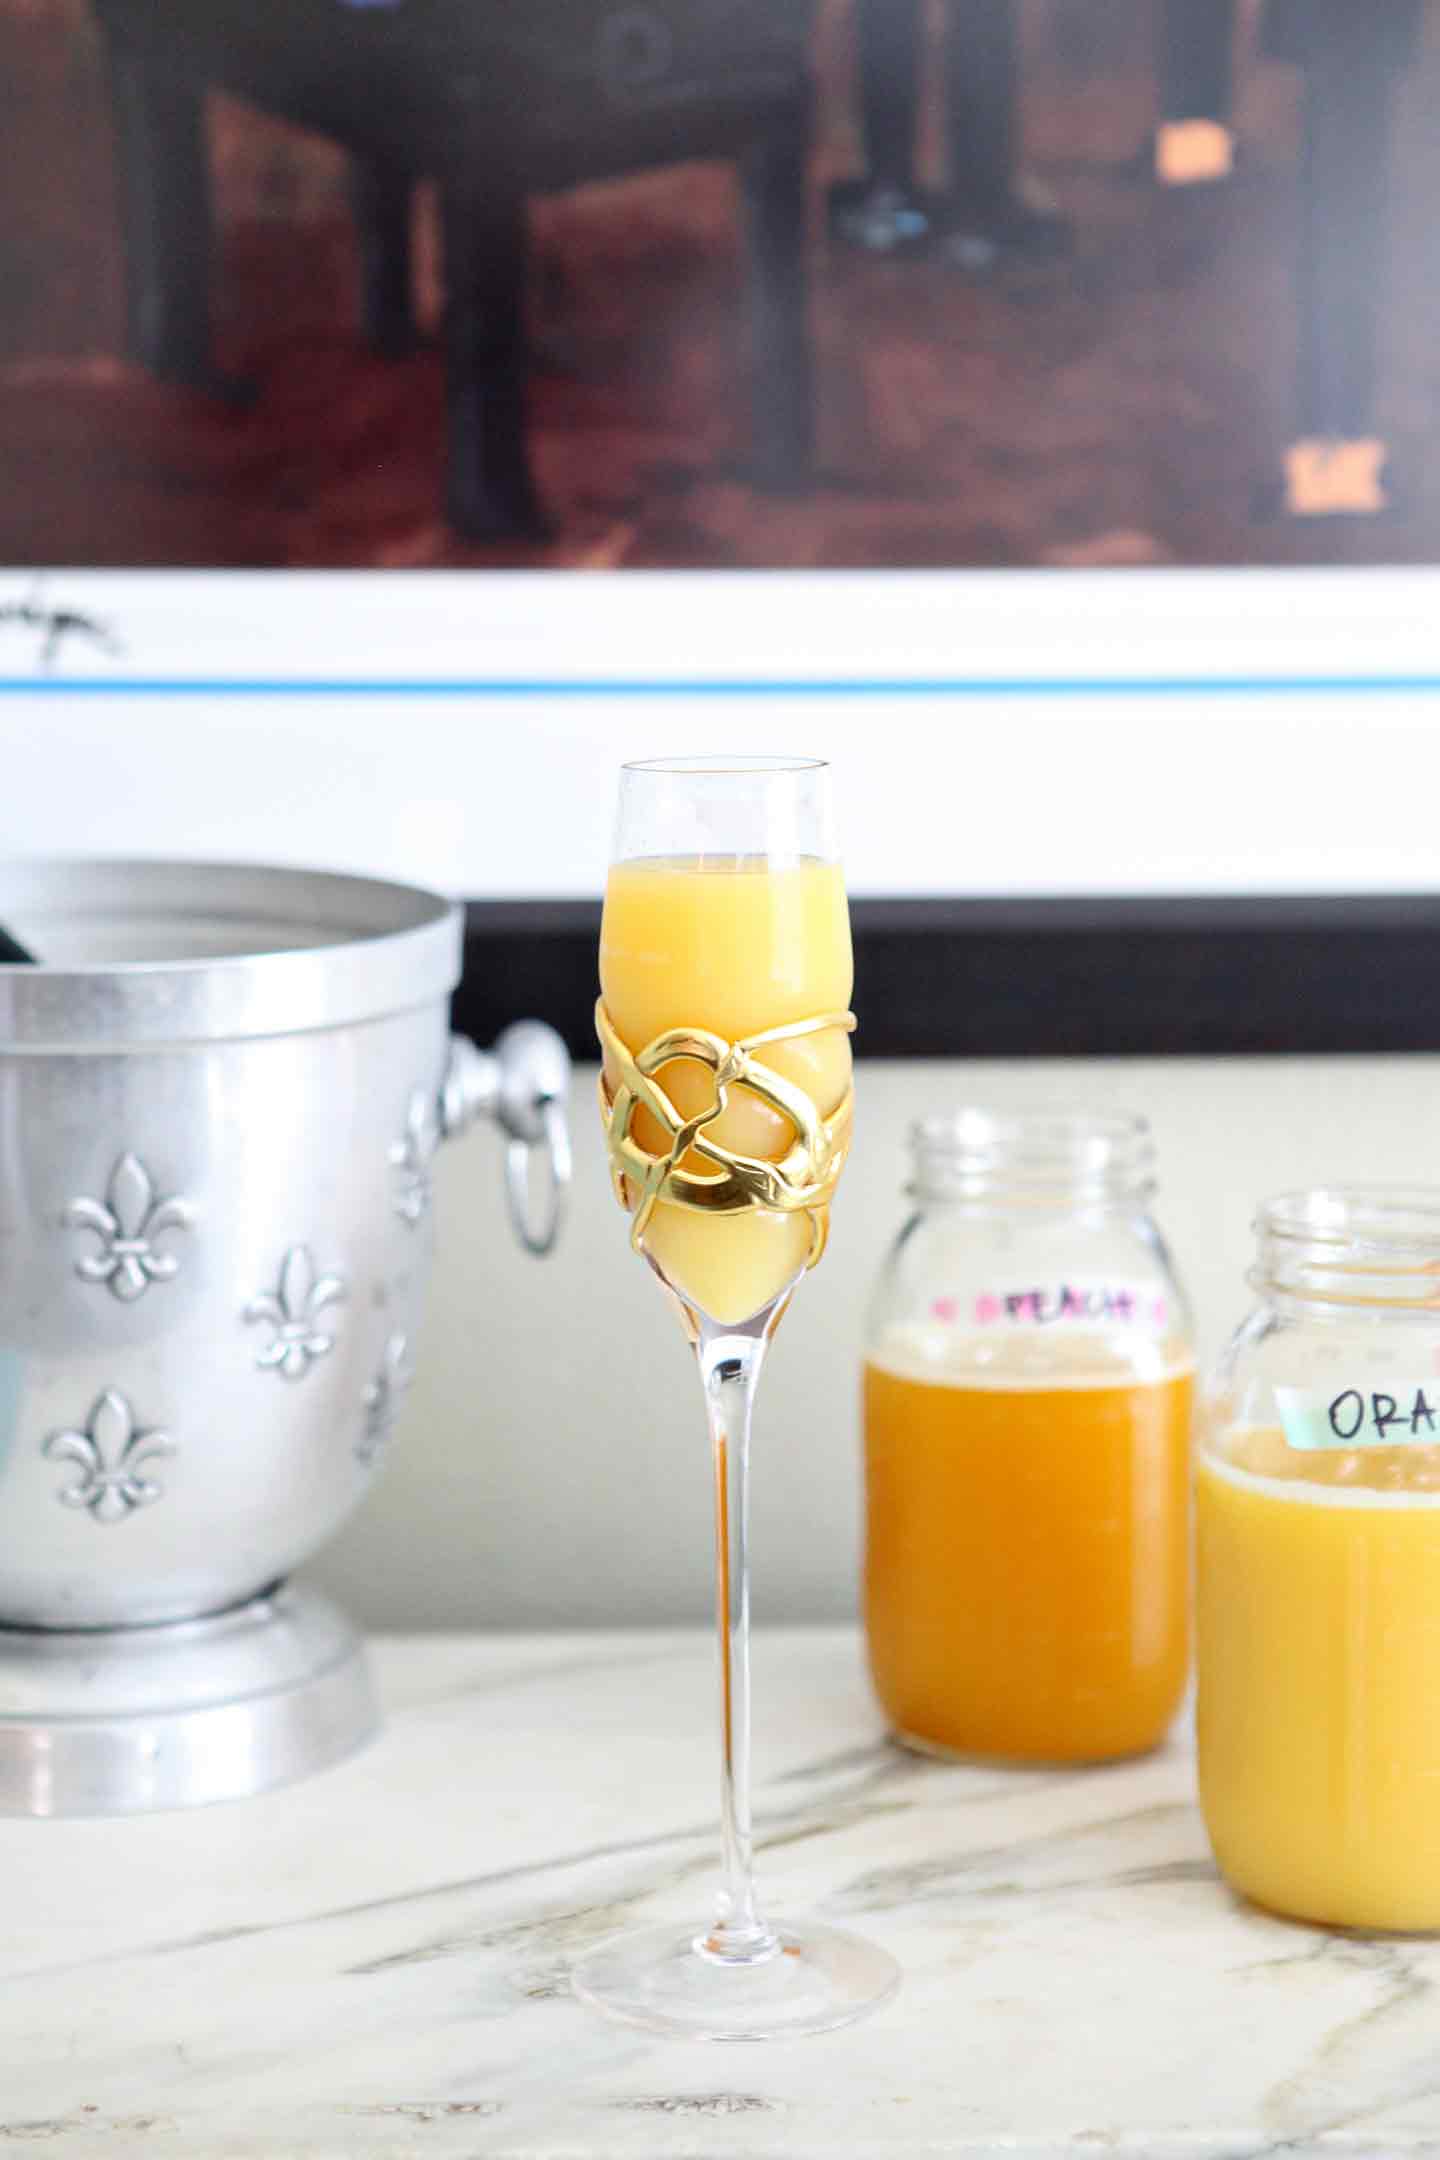
How to Make a Mimosa Bar
Serves 825 mins prep30 mins cook
Brunch at home can be so much fun and so versatile! Add a little pizzazz to your next hosting gig by offering a Choose-Your-Own-Adventure Mimosa Bar. Offer several juices and fruits for guests to choose from so they can mix and match to create a mimosa straight out of their dreams. Easy to set up and even easier to enjoy, this Mimosa Bar is sure to become a mainstay at any at-home brunch you host!

0 servings
Instructions
0 Choose a flat, stable surface near where your brunch is being served to set out the bar. 1 Set out your favorite champagne flutes or glasses for friends to pour their mimosas into. (This can be done a day or two in advance, depending on if you feel comfortable leaving the stuff out. Since I have small children at home, I wouldn't do this step until just before my guests arrive.) 2 Purchase 3-4 favorite juices to be served. (I chose grapefruit, orange and peach, but the possibilities are endless! Choose what sounds good to you and what you think your guests will like.) 3 Using the washi tape, label the mason jars so your guests will know what juice is in which jar. 4 Just before your guests arrive, pour the juices into the mason jars. 5 Put ice in an ice bucket, and place the champagne in it. 6 Scoop seasonal fruit into the ramekins and display near the bar. Encourage friends to add their favorite fruit to their mimosas. 7 Lastly, have extra champagne and juice in the fridge in case you and your guests gravitate to one juice and/or drink all the champagne before brunch is over.View original recipe